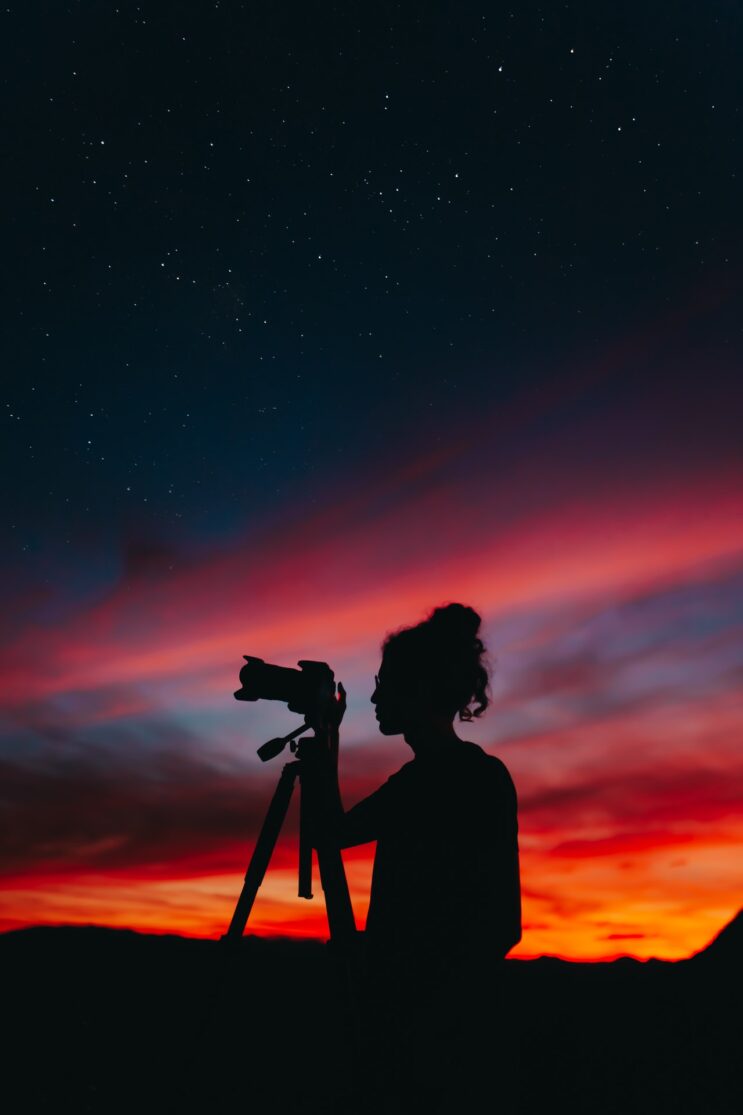
Night shots are adorable in their own way. It is much more difficult to make a spectacular shot in the dark than during the day. But it’s worth a try! Here’s what we need.
- a camera or smartphone with a good camera and the possibility of manual settings;
- tripod;
- good weather (no precipitation, and preferably no clouds).
Let’s get started!
What do you need to know when shooting at night?
Since we don’t have a lot of light from objects, we will have to shoot at high ISO values (sensitivity) and with a slow shutter speed. If you leave everything at the mercy of automation, you will just get a photo of a night street or building without any artistic intent.
Here are some guidelines for the settings we need.
- Image resolution. We just set the maximum and don’t think about anything.
- Picture format. If possible, shoot in RAW + JPG – it will be possible to process the image (for example, to correct the white balance).
- ISO value. We avoid the maximum possible for the device. For simple cameras and smartphones, it is better not to use values higher than 800. Otherwise, there will be a lot of noise (grain) in the pictures.
- Aperture value. We use f / 8 to f / 16. If we want to get a beautiful “radiant” glow of the lanterns, set f / 16.
- Exposure value. As a rule, it is selected empirically but it is better to count on a shutter speed of at least 1 s.
Of course, at slower shutter speeds, it is better to use a tripod. If it is not there, you can set the camera or smartphone on a fixed base: curb, parapet, the bench… Make sure that the device stands securely and will not fall. Ideally, use the shutter release timer – if you press the button yourself, you will most likely wiggle the camera, and the picture may turn out to be blurry.
For beginners: shooting city lights
To make such a photo, you just need to adjust the camera, as described above, correctly. Try to compose your shot so that the lighted objects dominate in it. A river embankment is perfect – the illumination will be effectively reflected in the water. Try taking takes with different shutter speeds and apertures: you will get different shots of the same place.
For amateurs: filming a busy street
The lights of the cars add dynamics to the shot. To make such a shot, we are looking for the top point – bridges are ideal. As usual, set up a tripod or use support. Pay particular attention to the shutter speed – to get long, beautiful traces of headlights and lanterns, we use a shutter speed of 2-10 s, depending on the speed of the cars.
For experienced: capturing the night sky
The starry sky in the picture can turn out even more spectacular than you see it. Two conditions must be met:
- the shooting location should be far-lit objects (cities, highways);
- the sky should be cloudless.
The main problem with such shooting is that the stars are not visible at low shutter speeds, and at high shutter speeds, they no longer look like sharp points but blurred. Therefore, start with a shutter speed of 10 seconds – if the photo is too dark, and the stars are not visible, increase the shutter speed by 3-5 seconds.
You can take a different path and try to shoot not static stars but a dynamic picture of their movement. A smartphone is hardly suitable for such a purpose, and the camera should allow you to shoot with a shutter speed of tens of minutes. Otherwise, everything is simple: we direct the camera at the North Star (because the rotation occurs around this axis), empirically determine the optimal exposure (from 10 minutes to an hour), and enjoy the picture.

For the pros: catch the lightning
Lightning in a dark sky is a truly fantastic sight. But catching it is not so easy. Many people are sure that this should be done with a minimum shutter speed, but then you will only get a light trail, and everything else will be an even spot.
Therefore, set f/8 to f/11, shutter speed in 30 seconds (smartphones are useless here too), and hope that it will blaze during these 30 seconds. As a result, you will get a detailed background and clear lightning.
We believe you will succeed.